
This tutorial exercise provides step-by-step directions for guiding you through using the basic Alice control structures do in order and do together. Here you will explore the basic use of control blocks and how do in order and do together can be used to make smooth movement animations in Alice. To do this you will build a basic scene with an eagle and a log and animate the eagle smoothly hopping up onto the log while at the same time flapping its wings. You will need to access other printed materials or have access to the alice.org website to view the how to content called out within these materials. These materials can be downloaded and printed for offline use from Alice.org.
Don’t forget to save your projects frequently
Setting Up the Scene
First you will need to set up the scene with the Eagle and the jungle log. For the following steps, you may wish to watch the Video or check the Quick Reference Guide associated with the How To: Scene Editor Overview.
1. Start Alice. Select the NORTHWEST_FOREST template from the Blank Slates section of the Select Template Dialog box.
2. Go to the Scene Editor of Alice and add the Eagle object from the Flyer section of the Gallery to the Scene. From the Props section of the Gallery, add and position the JungleLog -> new JungleLog(LOG_BRIDGE) object.
3. Position the eagle so that it is about 2 meters away from the center of the log, facing the log.
4. OR Download and open the project FlyToLogSetup.a3p, from the website.
Using the do in order control structure
Next let’s animate the basic hop movement. For the following steps, you may wish to watch the Videos or check the Quick Reference Guides for the How To: Using Procedures Overview
5. Select the eagle and drag a move statement to myFirstMethod so that the object moves up 1 meters.
6. Drag a second move statement to myFirstMethod so that the eagle moves forward 1 meter.
7. Drag another move statement to myFirstMethod so that the eagle moves forward 1 meter.
8. Drag one more move statement to myFirstMethod so that the eagle moves down 0.4 meter.
9. Save the program. Before running the animation, on a sheet of paper, draw a diagram predicting what you think these code statements will do.
10. Run your program to see if your prediction is correct.
11. Rearrange the order of the statements in myFirstMethod, and make another prediction about what the eagle will do. Test your prediction by running the program.
12. Return the program statements to their original order.
Using the do together control structures
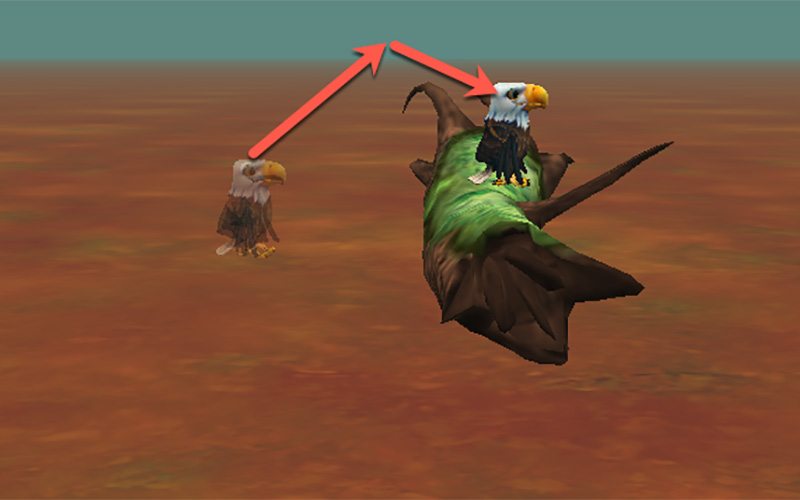
Next let’s try to smooth out the animation to be more natural. For the following steps, you may wish to refer to the image above, or use your own ideas. You may wish to watch the Videos or check the Quick Reference Guides for the How To: Using Do Together.
13. From the Controls panel of the of the Alice 3 Code Editor, drag a do together code block into myFirstMethod.
14. Drag the first two statements (move up 1 meter, move forward 1 meter) into this do together code bock.
15. Draw another diagram predicting what you think your animation will now do.
16. From the Controls panel of the of the Alice 3 Code Editor, drag a second do together code block into myFirstMethod, AFTER the first do together.
17. Drag the remaining two statements (move forward 1 meter, move down 0.4 meters) into this do together code block.
18. Draw another diagram predicting what you think your animation will now do.
19. Rearrange the order of the statements inside the do together code blocks, and make a prediction about what the eagle will do. Test your prediction by running the program. Does rearranging the code INSIDE the do together code blocks make any difference in the animation? Why or why not?
20. Swap the order of the two do together code blocks (so that the second do together now executes first). Make a prediction about what the eagle will do. Test your prediction by running the program. Does rearranging the do together code blocks make any difference in the animation? Why or why not?
21. Return the program statements to their original order. Save and run the program.
Using Nested Code Blocks To make the flight of the eagle even more realistic, we would like to add a flying motion as the eagle takes off and lands. You may wish to watch the Videos or check the Quick Reference Guides for the How To: Using Poses (Not Published Yet).
22. Drag the FlyingPose statement into the first do together code block.
23. The eagle has another pre-defined pose called foldWings (found at the bottom of the procedures list). Add the foldWings procedure to the do together code block. Predict what you think will happen in the animation when you run the program.
24. You may be surprised to see that we do not see any flying motion at all. This is because in the do together, we are telling the eagle to get into a flying pose and close its wings AT THE SAME TIME. We must nest, or insert, a do in order code block into the do together, and drag the flyingPose and foldWings statements into this do in order. Predict what will happen before running the animation. Can you explain what is going on in this do together?
25. Nest a second do in order code (with flyingPose and foldWings) block inside the second do together code block, so that we get another flying motion as the eagle lands on the log.
26. Save and run your animation.
Synchronizing Animations
After adding the wing flaps you may notice that the wings flap longer than the movement of the bird. For the following steps, you may wish to watch the Videos or check the Quick Reference Guides for the How To: Using Procedures Overview for editing details of procedures.
27. Change the duration value of each of the move statements (click on add details to set the duration) to 2 seconds.
28. Save and run your animation.